
Speechify
Text-to-speech
Speechify is a text-to-speech engine offering natural voices built on its Simba model family.
Models
SignalWire supports the following Speechify models. See Speechify’s documentation for more detail.
Model availability varies per voice and per workspace — an unavailable voice and model pairing fails. Test your combination before deploying.
Voices
Press play to audition any Speechify voice, then copy config to grab the value for SWML or your SDK.
Speechify voice IDs come from its voice list API (for example, alicia or alton) —
use the voice’s ID, not its display name. The default voice is alicia,
an American English female voice.
Browse the available voices in Speechify’s documentation:
Languages
Set the language as an ISO 639-1 code with a region, such as en-US.
The simba-3.0 model is multilingual — it covers English, German, Spanish, French, Italian,
Brazilian Portuguese, and more, and infers the language from your text in multilingual mode.
Refer to Speechify’s docs for current language coverage.
Usage
A voice identifier string has three parts: the speechify engine code, a voice ID, and an optional model.
Format: speechify.<voiceId>:<model>
voiceId(required): a Speechify voice ID (for example,alicia); see Voices.model(optional): one of the models above. Defaults tosimba-3.0.
Examples:
You can also set the model with the separate
model
parameter of the languages SWML method
instead of appending :model to the voice string:
Build with Speechify on SignalWire
Create a Space and add credit
If you don’t have one yet, you’ll need to create a SignalWire Space. Be sure to add some credit to test with.
Add a new Resource
Navigate to the Resources tab in your SignalWire Dashboard and click + Add New to create a new Resource.
Create a SWML Script
From the Resources menu, select SWML Script. Name it something fun and recognizable. Ours is titled Speechify Wizard.
Next, paste the following starter script into the text box, and hit Save:
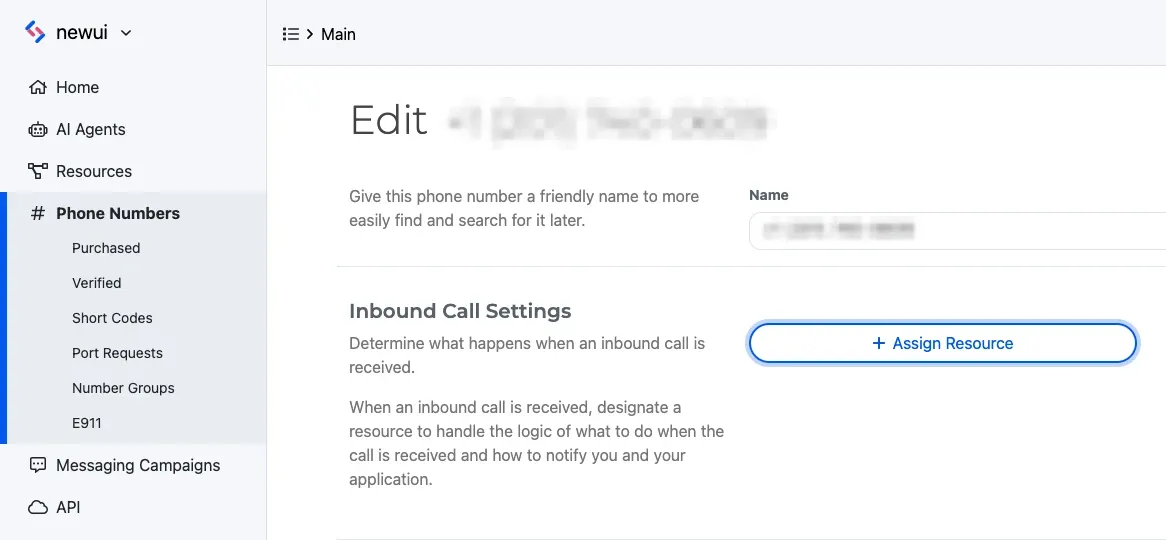
Next steps with SWML
Now you’ve deployed your very first SignalWire voice AI application using Speechify voices. Next, dive deeper into SWML to explore its capabilities!