***
id: 30ba32c2-dd75-4e9d-a36f-b9e845c208d6
slug: /ai/no-code-agents
title: No-code agent
subtitle: Deploy and test a no-code AI Agent in your SignalWire Space
description: >-
Deploy a serverless AI Agent and call it over the PSTN in under 5 minutes -
for free
--------
SignalWire AI Agents are powerful, programmable, and infinitely customizable.
Initialize your agent in the Dashboard without code, assign a phone number, and SignalWire's platform takes care of the rest.
### Sign up for a new SignalWire account
To begin, sign up for a SignalWire account. If you already have an account, log in.
Once logged in, create a Space or select an existing Space.
Create account
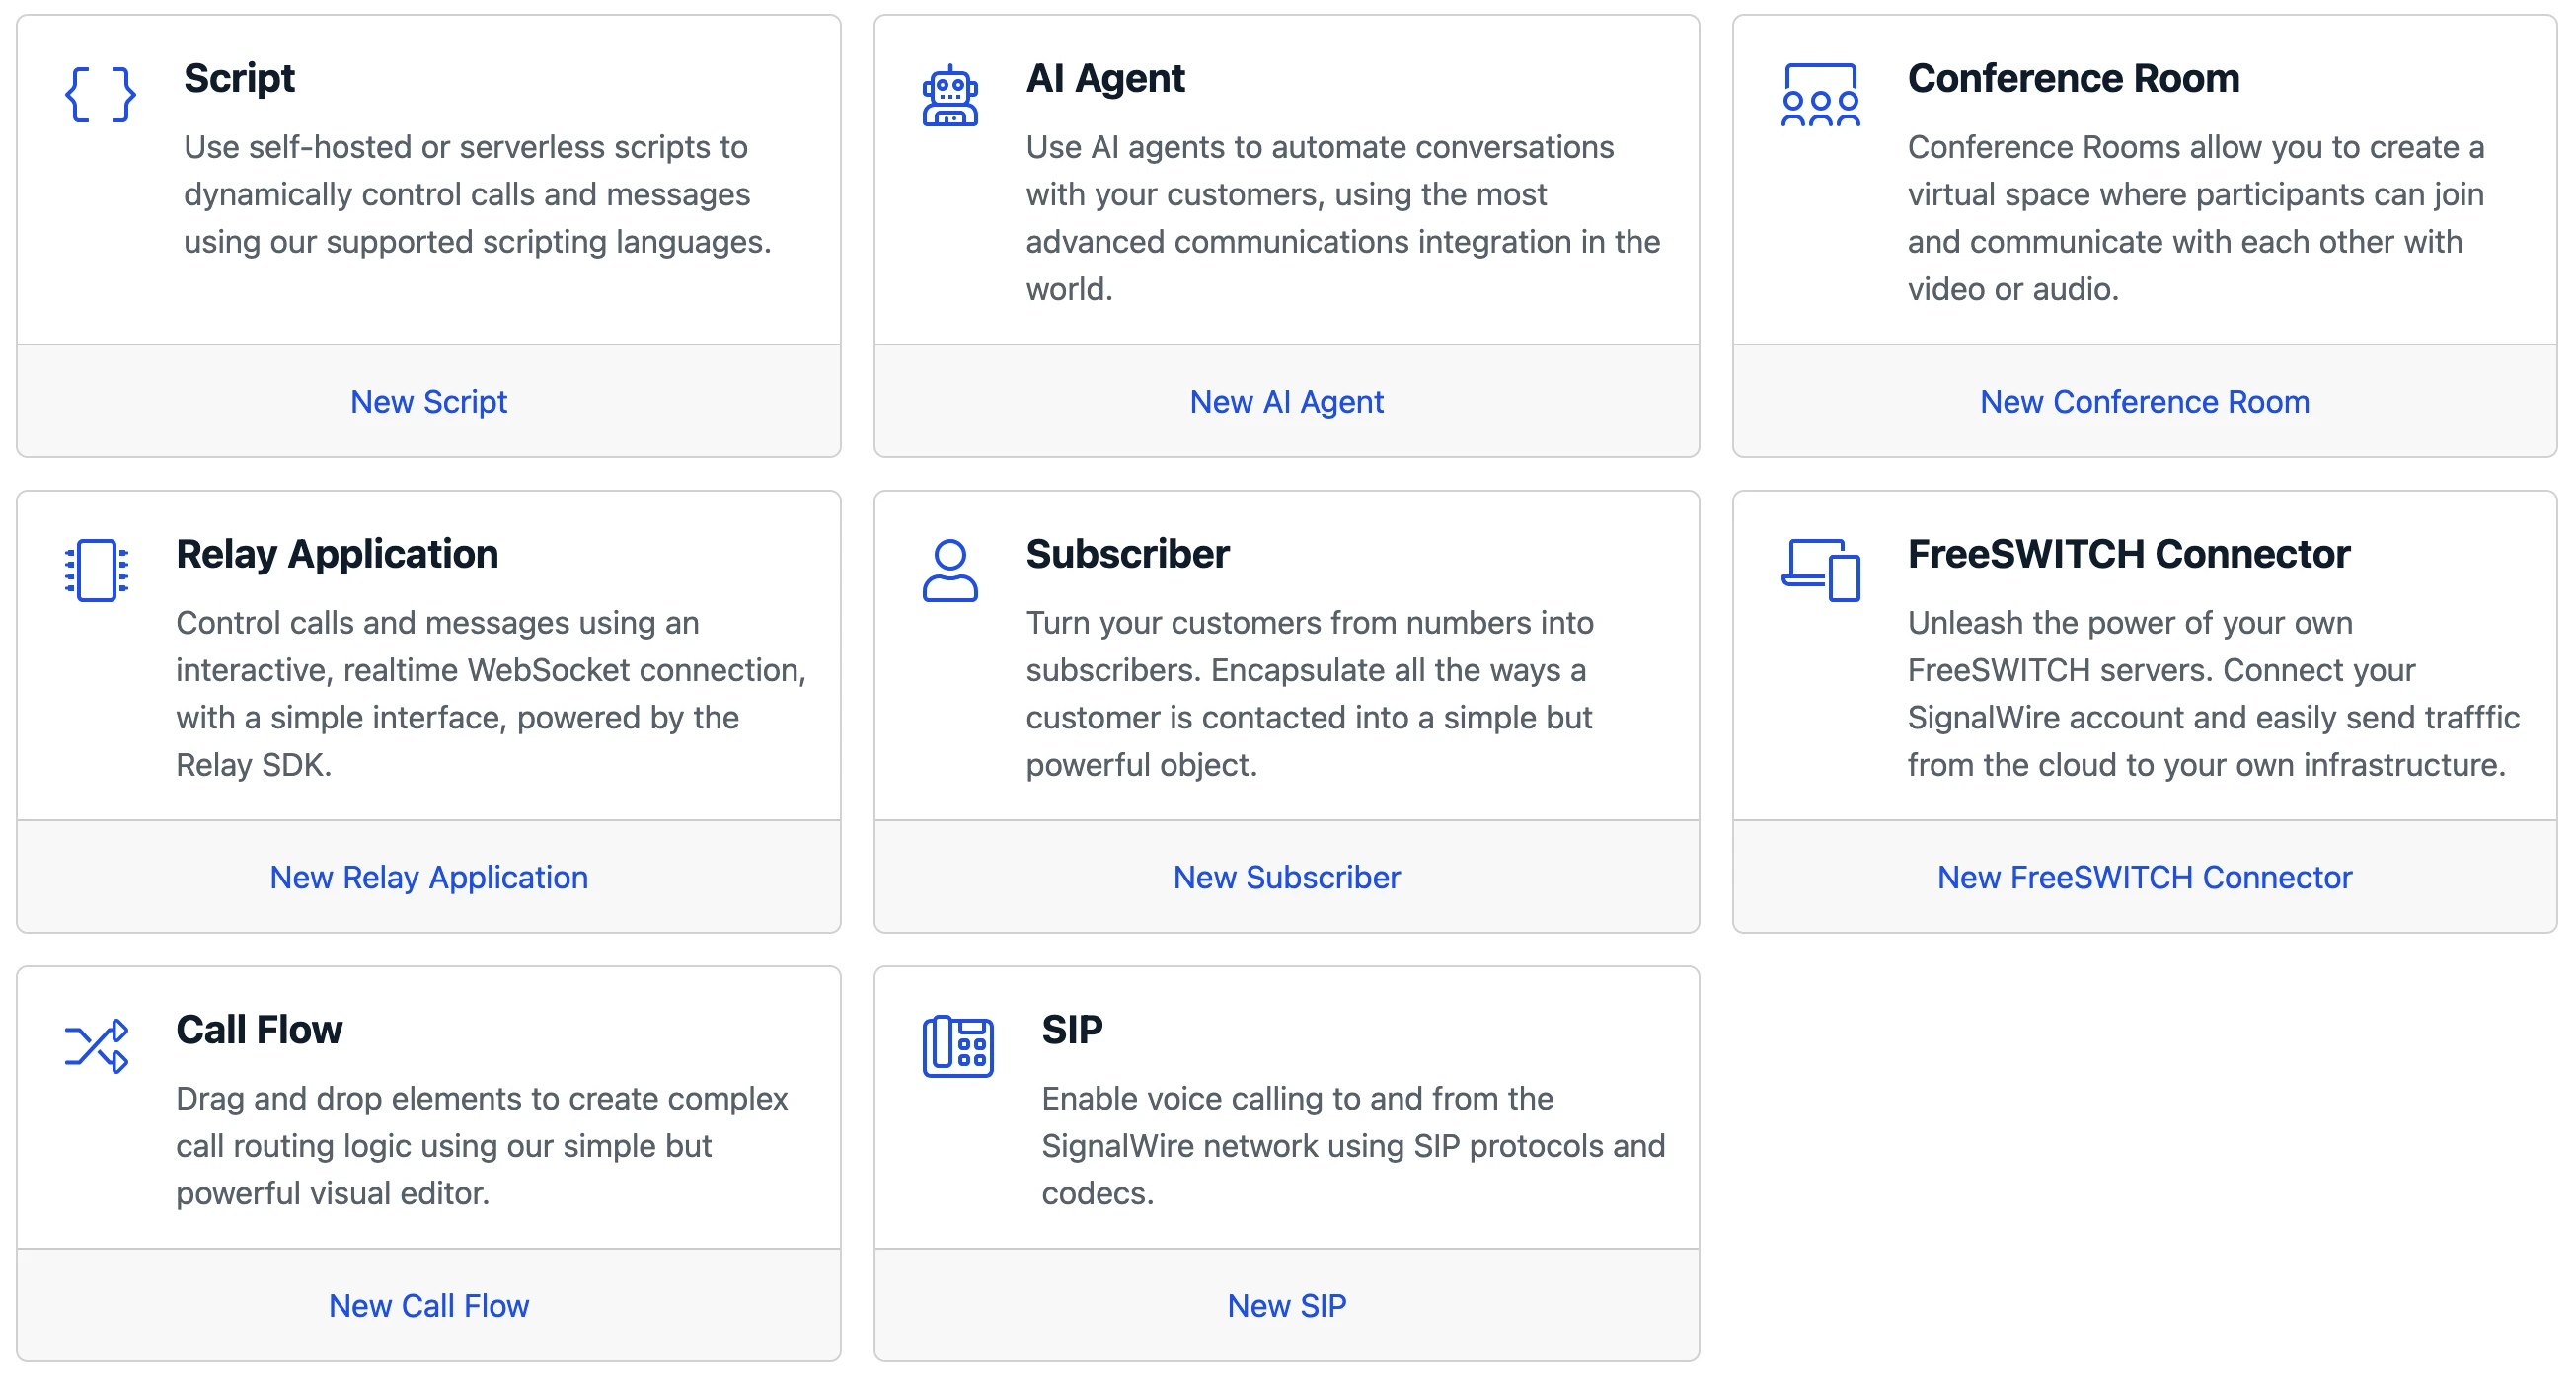
### Create an AI Agent Resource
-
Open the
[Resources][1]
tab in your SignalWire Space.
-
Click
+ Add New
to create a new Resource.
-
Select
**AI Agent**
from the menu.
If prompted, choose **Custom AI Agent**.
Resources
are the building blocks of every SignalWire communication application. Resources include AI Agents, Subscribers, RELAY applications, FreeSWITCH connectors, and more.
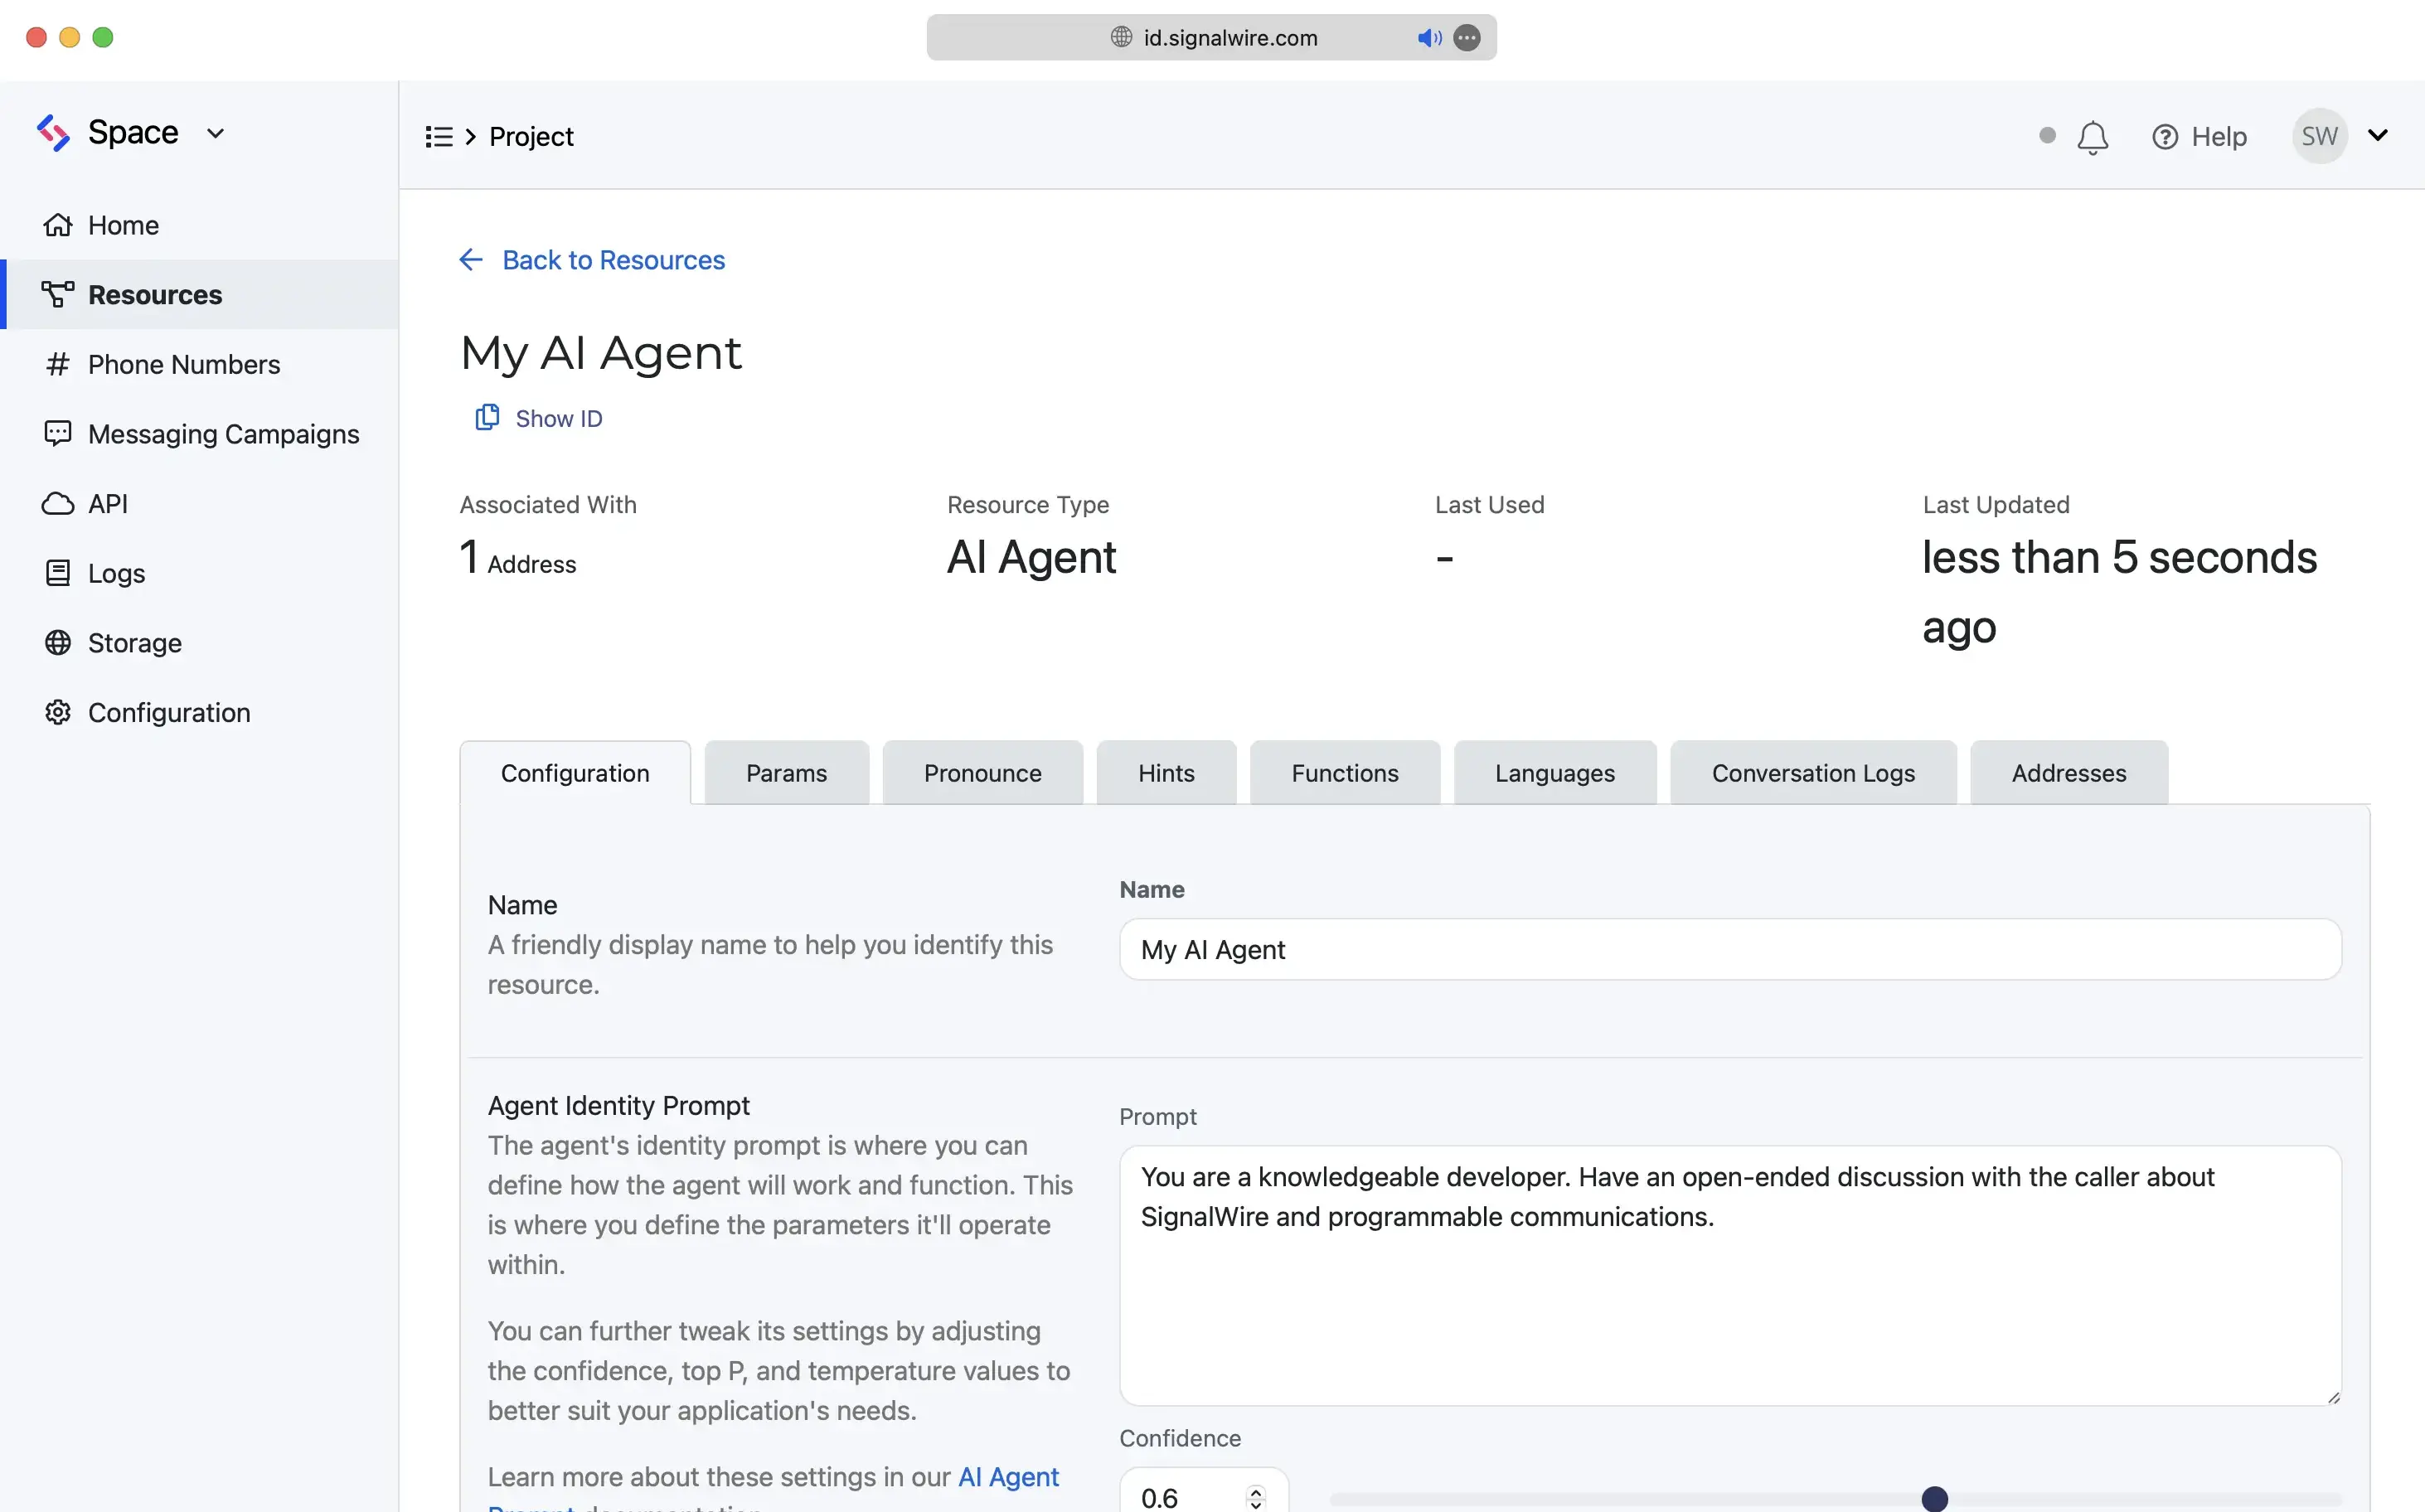
### Configure the agent
For this simple demo, add the below Prompt text and leave the other settings at their default.
```plaintext
You are a knowledgeable developer. Have an open-ended discussion with the caller about SignalWire and programmable communications.
```
To see live debug logs, set up a webhook from a service like [Webhook.site](https://webhook.site/). Paste your webhook URL in the **Debug Webhook URL** field in the **Params** tab. Ensure that **Debug Webhook Level** is set to `1`.
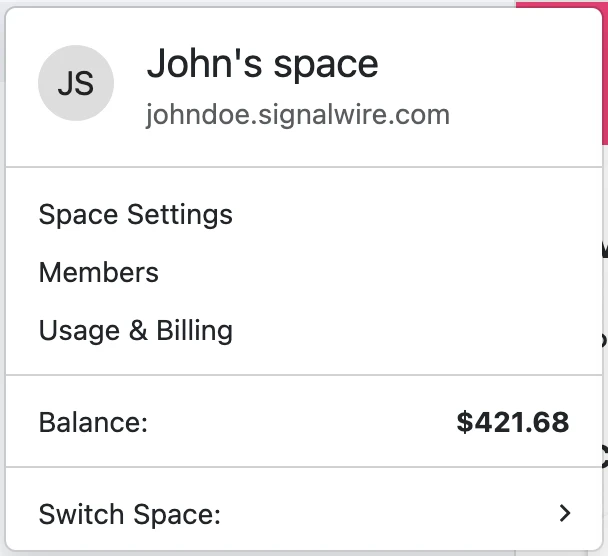
### Fund your account
Add funds to your SignalWire Space in order to purchase a phone number and initialize your AI Agent.
* Click on the name of your Space to open the drop-down menu in the top-left corner
* Click **[Usage & Billing][3]**
* Click Add a Payment Method
* Add a new payment method
* From the Billing page, click [Top Up Your Balance][3]
* Add funds
### Assign a phone number
* Click on the **Addresses** tab of your AI Agent.
* Click + Add
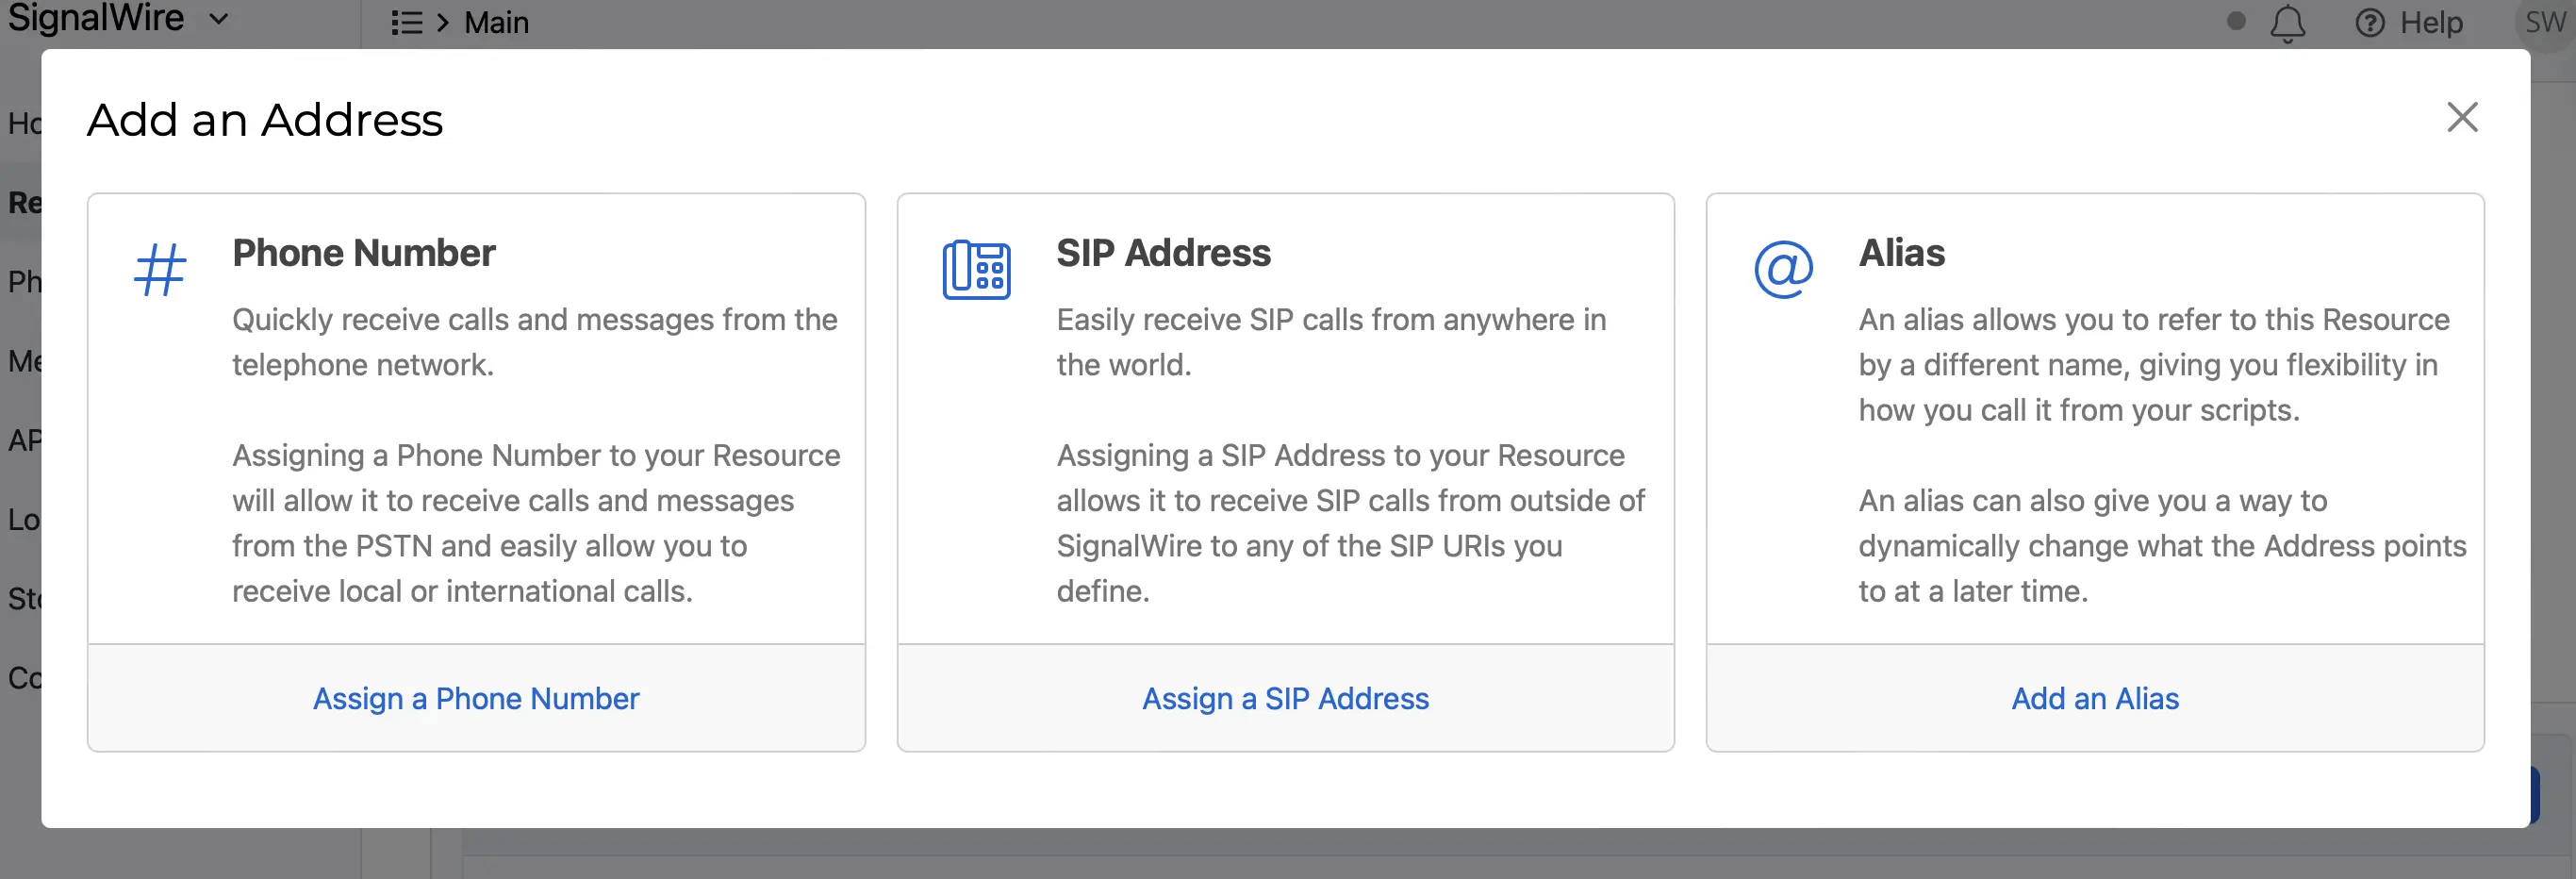
* In the **Add an Address** menu, select **Phone Number**
* If you have an unassigned phone number you'd like to use, select it
* Otherwise, select **Buy a Phone Number**
* Choose a **Local** phone number and click **Buy**
Your new phone number is now ready to use!
In-depth guide to purchasing a phone number on the SignalWire platform
### Give it a call
Dial your newly configured AI Agent over the PSTN from your cell phone or a VoIP dialer.
***
## Next steps
Congratulations, you've created and tested your first SignalWire AI Agent!
Next, dive into our guide to prompting and other best practices, or learn about using AI Agents in SWML and Call Flow Builder.
Optimize your SignalWire AI Agent
Build advanced AI applications using SignalWire Markup Language
Deploy your AI Agent within our drag-and-drop calling application builder
{/* Links */}
[1]: https://my.signalwire.com?page=resources "View Resources in your SignalWire Space."
[3]: https://my.signalwire.com?page=top-ups/new "Add funds to your SignalWire Space."