***
id: d6565266-8eef-4539-a1c1-3772fbdbd7d3
title: Quickstart
subtitle: Deploy your first SWML script in 5 minutes
description: Deploy your first SWML script in minutes with this step-by-step guide
slug: /guides
position: 0
max-toc-depth: 3
----------------
This guide will walk you through deploying your first SWML script to handle incoming calls. By the end of this quickstart, you'll have a working phone number that runs your SWML application.
## Prerequisites
Before you begin, make sure you have:
* A [SignalWire account](https://signalwire.com/signups/new)
* A SWML script ready for deployment
## Deploy your SWML script
### Create new script
From your [SignalWire Dashboard](https://my.signalwire.com),
click **Script**, then **SWML script**.
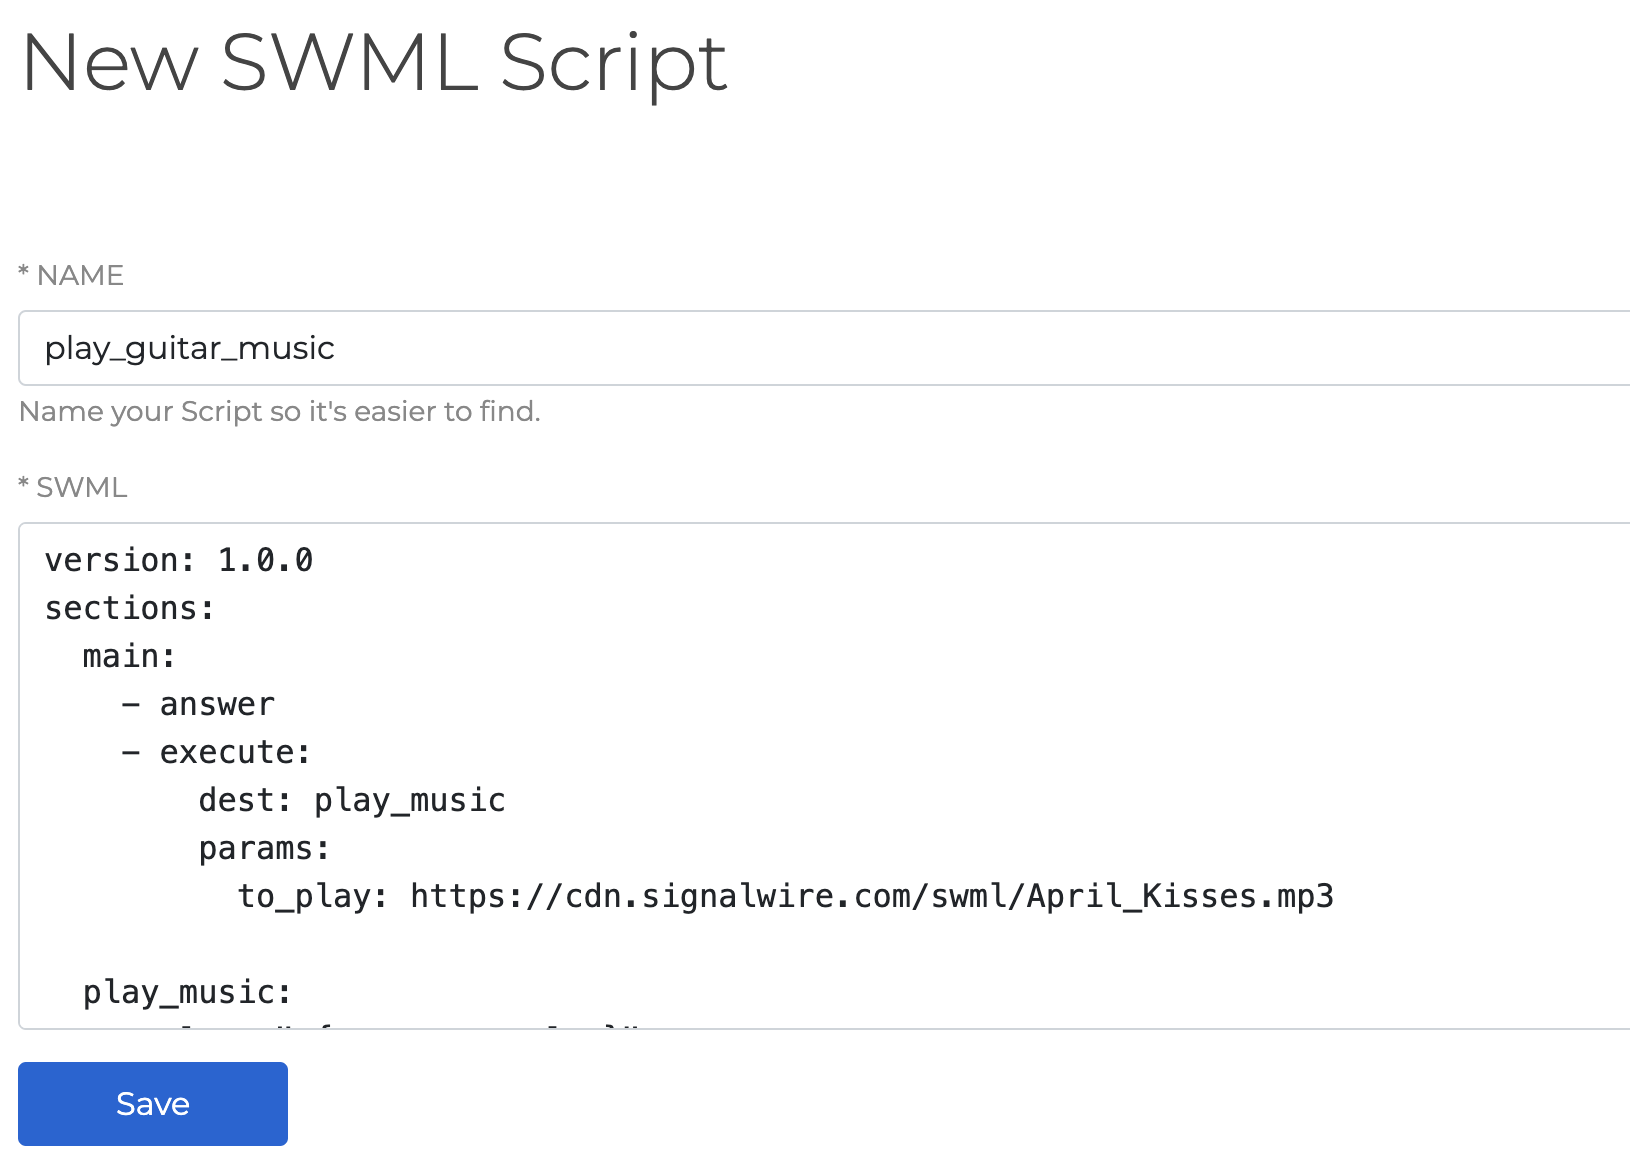
This will open the New SWML Script dialog box.
Paste your SWML Script into the Primary Script field, then select **Create**.
If necessary, copy and paste the below example script:
```yaml
version: 1.0.0
sections:
main:
- answer: {}
- play:
url: "say:Hello World!"
- play:
url: "say:Congratulations on successfully deploying your script!"
- hangup: {}
```
```json
{
"version": "1.0.0",
"sections": {
"main": [
{
"answer": {}
},
{
"play": {
"url": "say:Hello World!"
}
},
{
"play": {
"url": "say:Congratulations on successfully deploying your script!"
}
},
{
"hangup": {}
}
]
}
}
```
Your script will be saved in the "My Resources" section under "Scripts".
It will remain housed here under the name you provide for easy reference.
### Assign a phone number
* Navigate to **Phone Numbers** in your Dashboard.
* Purchase a phone number if needed by clicking the "+ New" button in the top right hand corner of the page.
* Click on your phone number, then click "Edit Settings".
* Click on "+ Assign Resource", then assign your SWML Script.
### Test your application
Call your assigned phone number to test your SWML application.
You can write and save new SWML scripts from the "RELAY/SWML" section of your Dashboard.
In that section, switch to the tab named [SWML Scripts](https://my.signalwire.com/relay-bins).
Once there, you can create a new SWML script:
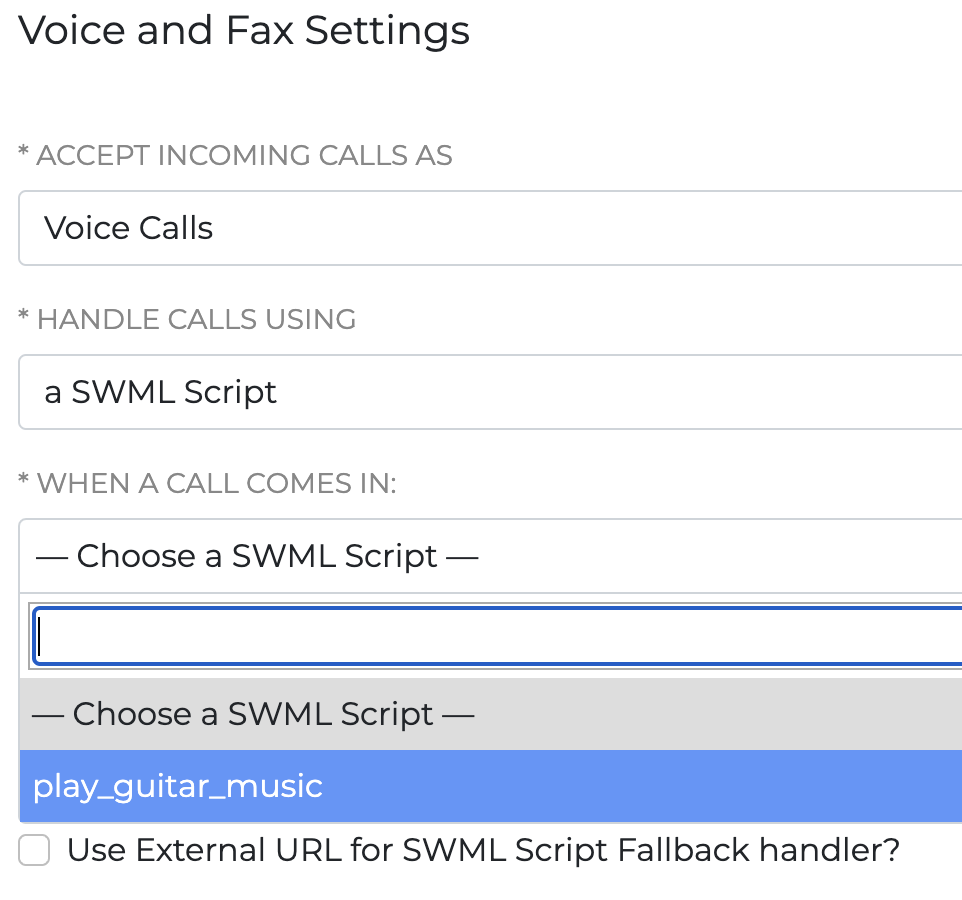
After you save the SWML, navigate to the [Phone Numbers](https://my.signalwire.com/phone_numbers) page.
Open the settings for a phone number you own (you may have to buy a new one),
and configure it to handle incoming calls using the SWML script you just saved.
For SignalWire Spaces created before January 2025
Identify your Dashboard and select between Legacy and New UIs using the tabs below.

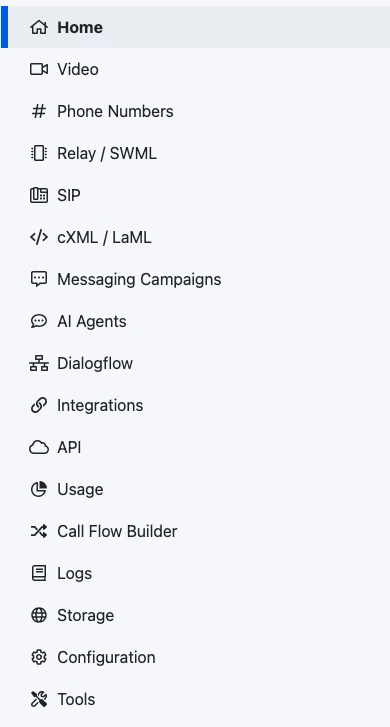
The new SignalWire Dashboard features a streamlined sidebar menu. Many items are now located in the unified My Resources menu.
Resources that were previously accessible in the sidebar of the legacy UI are now located in the unified **My Resources** menu.
In the Legacy Dashboard, there is no **My Resources** tab.
Instead, Resources are accessible as individual tabs in the main navigational sidebar.
To upgrade your Space to the New UI, [contact Support](https://support.signalwire.com/).
## Next steps
Now that you've deployed your first SWML script, explore these resources:
Explore all available SWML methods
Learn how AI methods are used in SWML
Learn about deploying SWML via your own web server
Get started with the AI Agents SDK