***
id: 7ddc31e0-f27e-435b-b311-874b591dea27
title: Webhooks
position: 0
slug: /webhooks
description: >-
An introduction to using webhooks to receive information and events about
calls and messages.
-------------------
Looking for TwiML™ compatible webhooks? Please refer to the [Compatibility API webhooks](/docs/compatibility-api/guides/webhooks) documentation.
[Webhooks](https://en.wikipedia.org/wiki/Webhook) are HTTP requests sent to your server from SignalWire when an event occurs. They help receive information about events like inbound calls to your phone numbers, or messages.
In addition to getting information about events, some webhooks also allow you to tell SignalWire how an event should be handled (via [SWML](/docs/swml)).
During development, you can use localhost tunneling applications like [ngrok](https://ngrok.com) to test your webhook handlers running on your development machine..
To learn how to use ngrok for local testing, visit [the ngrok quickstart guide](https://ngrok.com/docs/getting-started).
## Status callbacks to keep track of events
You can configure SignalWire to send status callbacks to your webhook handler when certain events occur. The setting
for webhooks can be found in the **Phone Number Settings** page in the SignalWire Dashboard, and they are assigned per phone number.
```mermaid
flowchart LR
A["Inbound Call"] --> B[SignalWire]
B --> C["Webhook HTTP request to your server"]
C --> D[[Your webhook handler]]
D --> E[(Database)]
D --> F[Other internal services]
```
You can also set status callback URLs programmatically when creating a resource or a phone number from the API.
Learn how to receive 10DLC campaign registration status updates via webhooks.
## Handle events with SWML
You can configure a phone number to handle incoming calls by using a [SWML script](/docs/swml). SWML is a JSON or YAML format that tells SignalWire how to handle a phone call. You can return SWML from your webhook handler to SignalWire to handle the call.
```mermaid
flowchart LR
A["Incoming messsage"] --> B[SignalWire]
B --> C["Webhook HTTP request to your server"]
C --> D[[Your webhook handler]]
D --> F["Generate SWML to reply to the message"]
F -- "200 OK, SWML" --> B
```
Learn how to handle incoming calls and messages from code.
## Configure webhooks for phone numbers
To access the number settings and configure the webhooks in the SignalWire Space, click on **Phone Numbers** and find the number to set up.
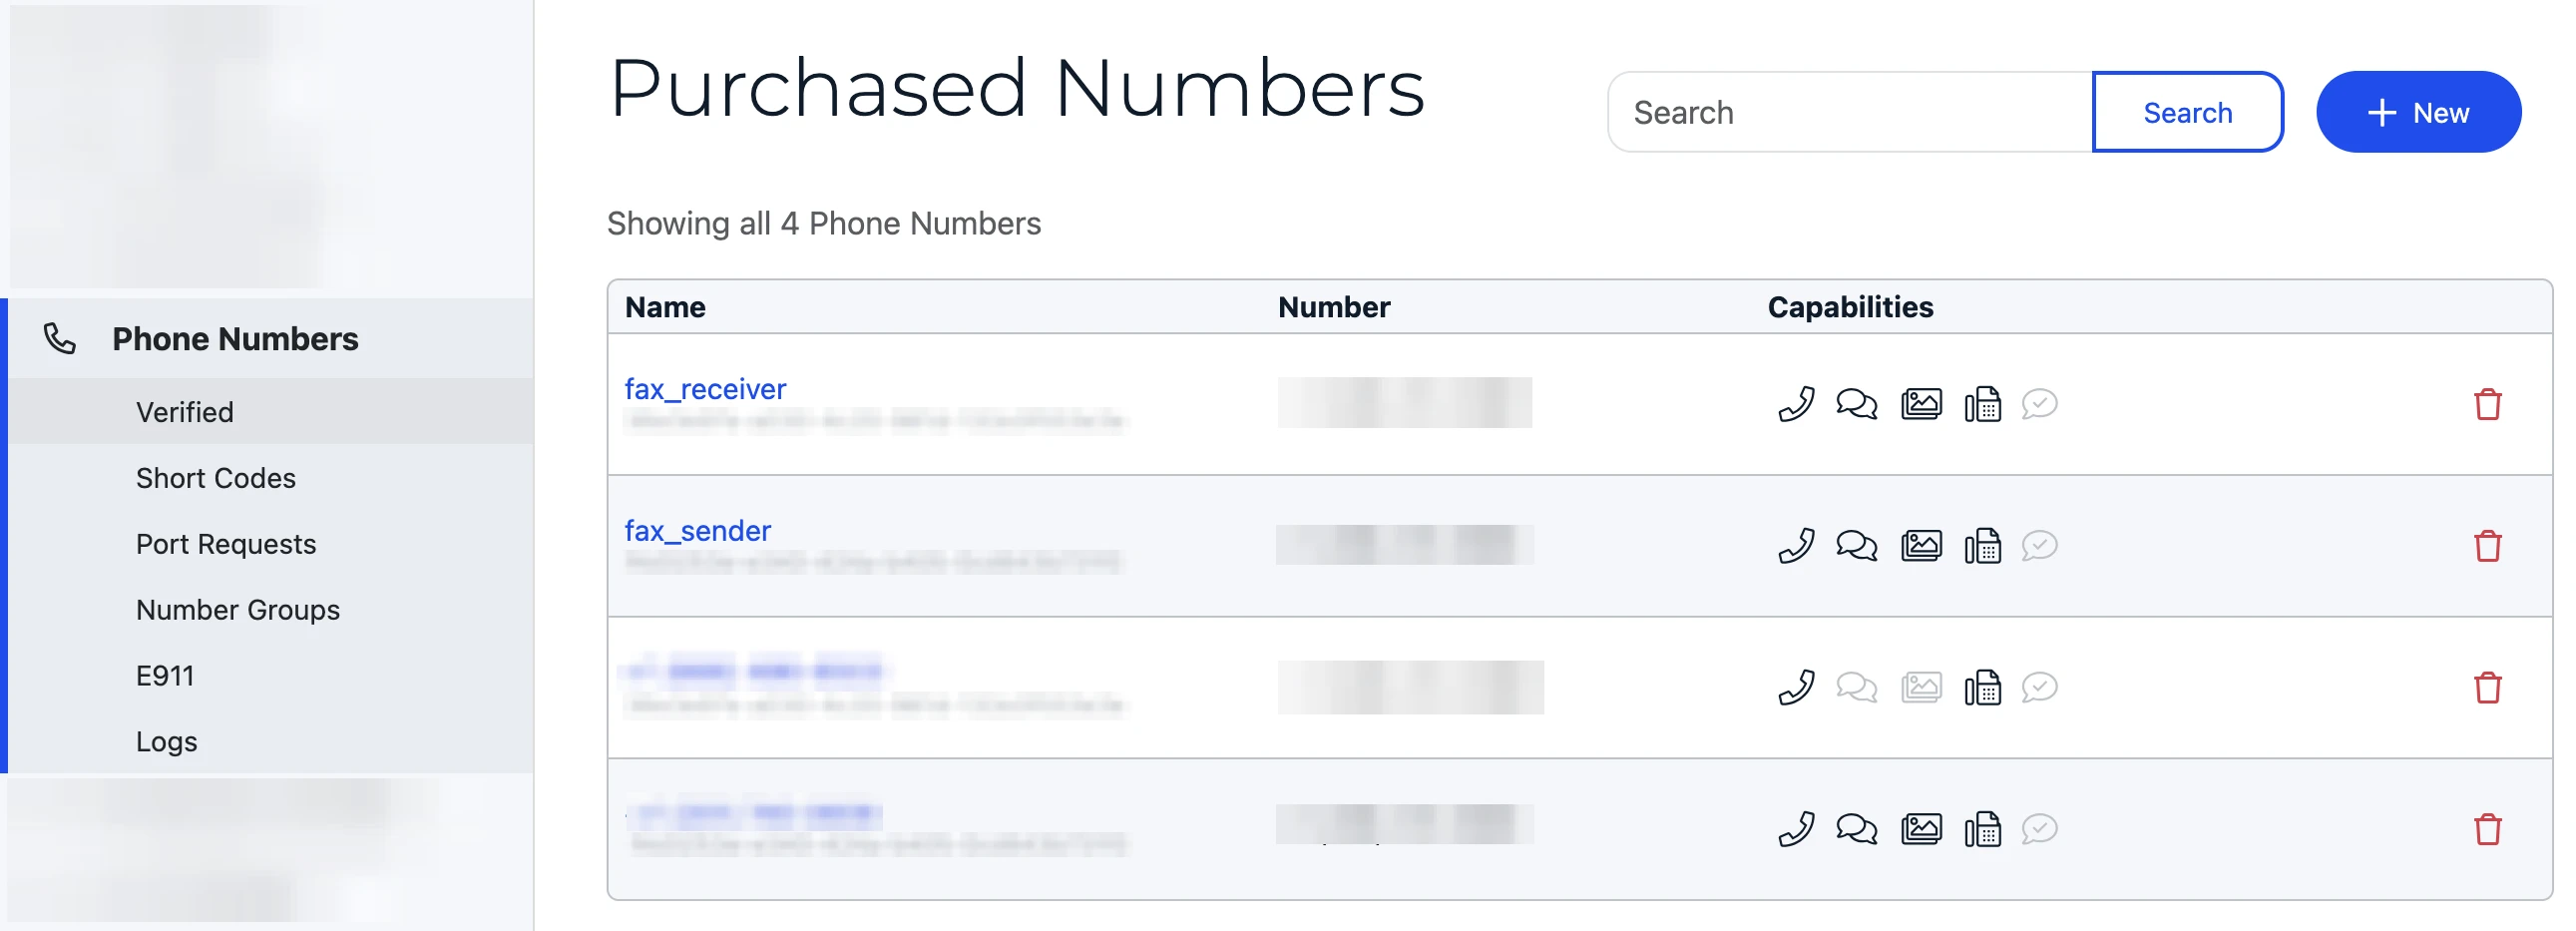
Click on the phone number to be set up and then click to **Edit Settings**. In phone number settings you can set webhooks to handle events with SWML, or cXML. You can also set status callback URLs for events.
## Verify webhook signature
To verify webhooks that originated from SignalWire, SignalWire signs its requests with a digital HMAC security key. You can verify that the security key matches the key documented in your Dashboard's [API Credentials](https://my.signalwire.com?page=credentials) with the `validateRequest` method.
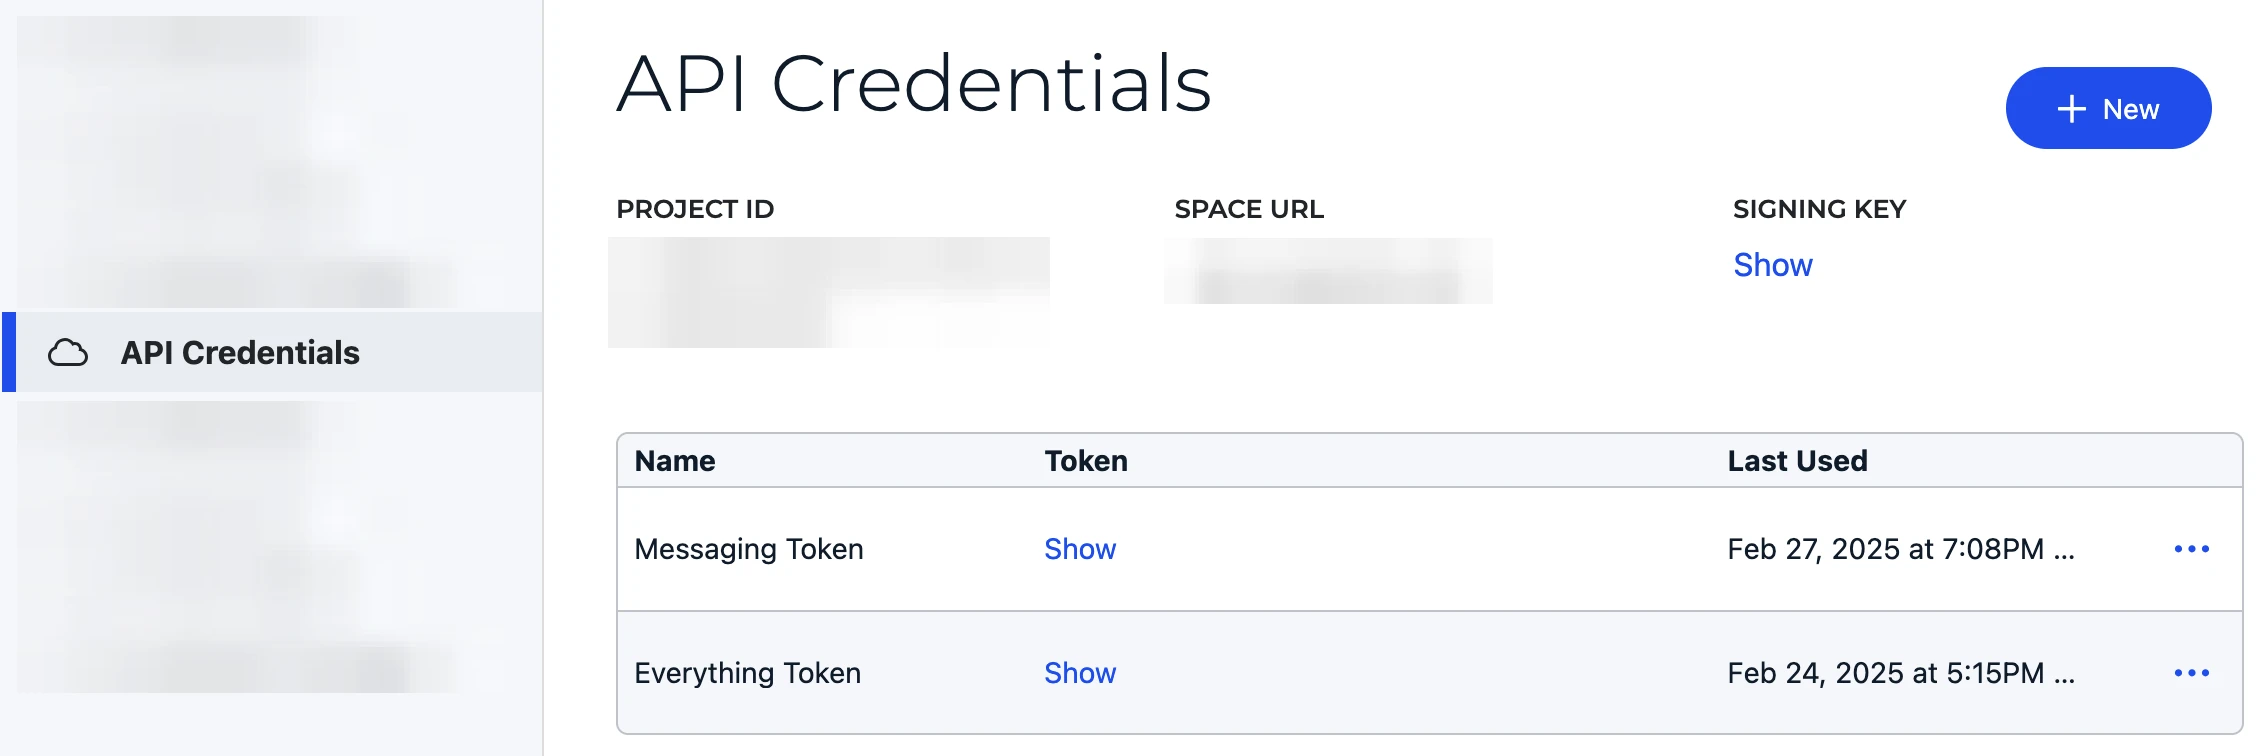
For production applications, it is extremely important to verify the webhook signature to ensure the requests are coming from SignalWire and not a malicious third party.
```js
import { validateRequest } from "@signalwire/js";
// prepare raw body for validation
app.use(express.json({
verify: (req: any, _res, buf) => {
req.rawBody = buf.toString();
}
}));
app.post("/mywebhook", (req: any, res) => {
const valid = validateRequest(
"",
req.headers["x-signalwire-signature"] as string,
"https://example.ngrok.io/mywebhook", //this should be the public-facing URL of your webhook handler
req.rawBody
);
if (!valid) return res.status(401).send("Invalid signature");
res.sendStatus(200);
});
```
This ensures that if a malicious third party tries to spoof a webhook request, it will be rejected.