***
id: 6dab02c5-d2ed-4f97-a256-2f5ba078a91b
title: Introduction to SWSH (SignalWire interactive shell)
sidebar-title: SWSH
description: >-
A comprehensive introduction to installing and using the SignalWire
Interactive Shell (SWSH).
image:
type: fileId
value: 'https://files.buildwithfern.com/signalwire.docs.buildwithfern.com/docs/9ea51e1c3d68de61fed015199d369b26db2837b815a4065e9e8662e049f248e7/assets/images/tools/swsh/swsh-warp.webp'
author: 'Shane Harrell, August Lindgren-Ruby'
slug: /swsh
-----------
SWSH (**S**ignal**W**ire interactive **SH**ell)
is a command line utility written in Python to interface with SignalWire APIs.
SWSH is built to easily configure and manage SignalWire Spaces from a command-line environment.
SWSH is extremely useful in scripting contexts, and allows the user to
perform repeated tasks quickly and efficiently by passing commands into SWSH.
### **Prerequisites**
Before you begin, ensure you have the following prerequisites:
* **A free SignalWire Account**
* **SignalWire API Credentials:**
Copy your Project ID and API Token from the
[API tab](https://my.signalwire.com?page=credentials) of your SignalWire Dashboard.
* **[Python 3 (or later)](https://wiki.python.org/moin/BeginnersGuide/Download):**
Python is required to install SWSH in a standalone manner.
* **[Docker Desktop](https://www.docker.com/products/docker-desktop/)**
is required for installing SWSH as a part of the SignalWire WireStarter container.
Docker is *not* required for installing the standalone Python package.
***
## **Installation**
SWSH can be installed in two ways.
1. [**Standalone:**](#standalone) If you wish to use SWSH by itself, install its Python package.
2. [**With WireStarter:**](#wirestarter) SWSH can also be installed with our WireStarter Docker container,
which also sets up the SignalWire SDKs and sets up a convenient development and testing environment.
### Standalone Installation \[#standalone]
Install SWSH standalone if you're looking for a scriptable SignalWire CLI without the additional development and testing features provided by WireStarter.
Python3 is required for the SWSH standalone installation.
We also recommend using the python3 `venv` module, but it isn't required.
1. **Create a new Python virtual environment**
This command uses the `venv` module to create a new Python virtual environment named "swsh".
Before running it, navigate to the directory where you wish to store the swsh virtual environment.
```bash
python3 -m venv swsh
```
2. **Activate the SWSH virtual environment**
This command activates the `swsh` virtual environment you just created.
This changes your shell's environment to use the Python and pip binaries within this environment,
isolating your Python setup from the system-wide Python installation.
```bash
source swsh/bin/activate
```
3. **Install SWSH**
This command installs the swsh package and its dependencies inside the activated virtual environment.
We're aware of an issue with Python 3.12 causing dependency issues.
Avoid these issues by specifying version 3.11 for pip.
```bash
pip3.11 install swsh
```
4. **Start the SWSH command prompt**
Now that SWSH is installed, you can start a shell with it by running:
```
swsh
```
Install SWSH on your Windows system using Command Prompt or PowerShell.
Python3 is required for the SWSH standalone installation.
We also recommend using the python3 `venv` module, but it isn't required.
1. **Create a new Python virtual environment**
This command uses the `venv` module to create a new Python virtual environment named "swsh".
Before running it, navigate to the directory where you wish to store the swsh virtual environment.
```cmd
python3 -m venv swsh
```
2. **Activate the SWSH virtual environment**
Activation of the virtual environment requires different commands in Command Prompt and PowerShell.
```cmd
swsh\Scripts\activate
```
```powershell
swsh\Scripts\Activate.ps1
```
3. **Install SWSH**
This command installs the swsh package and its dependencies inside the activated virtual environment.
```cmd
pip install swsh
```
4. **Start the SWSH command prompt**
Now that SWSH is installed, you can start a shell with it by running:
```
swsh
```
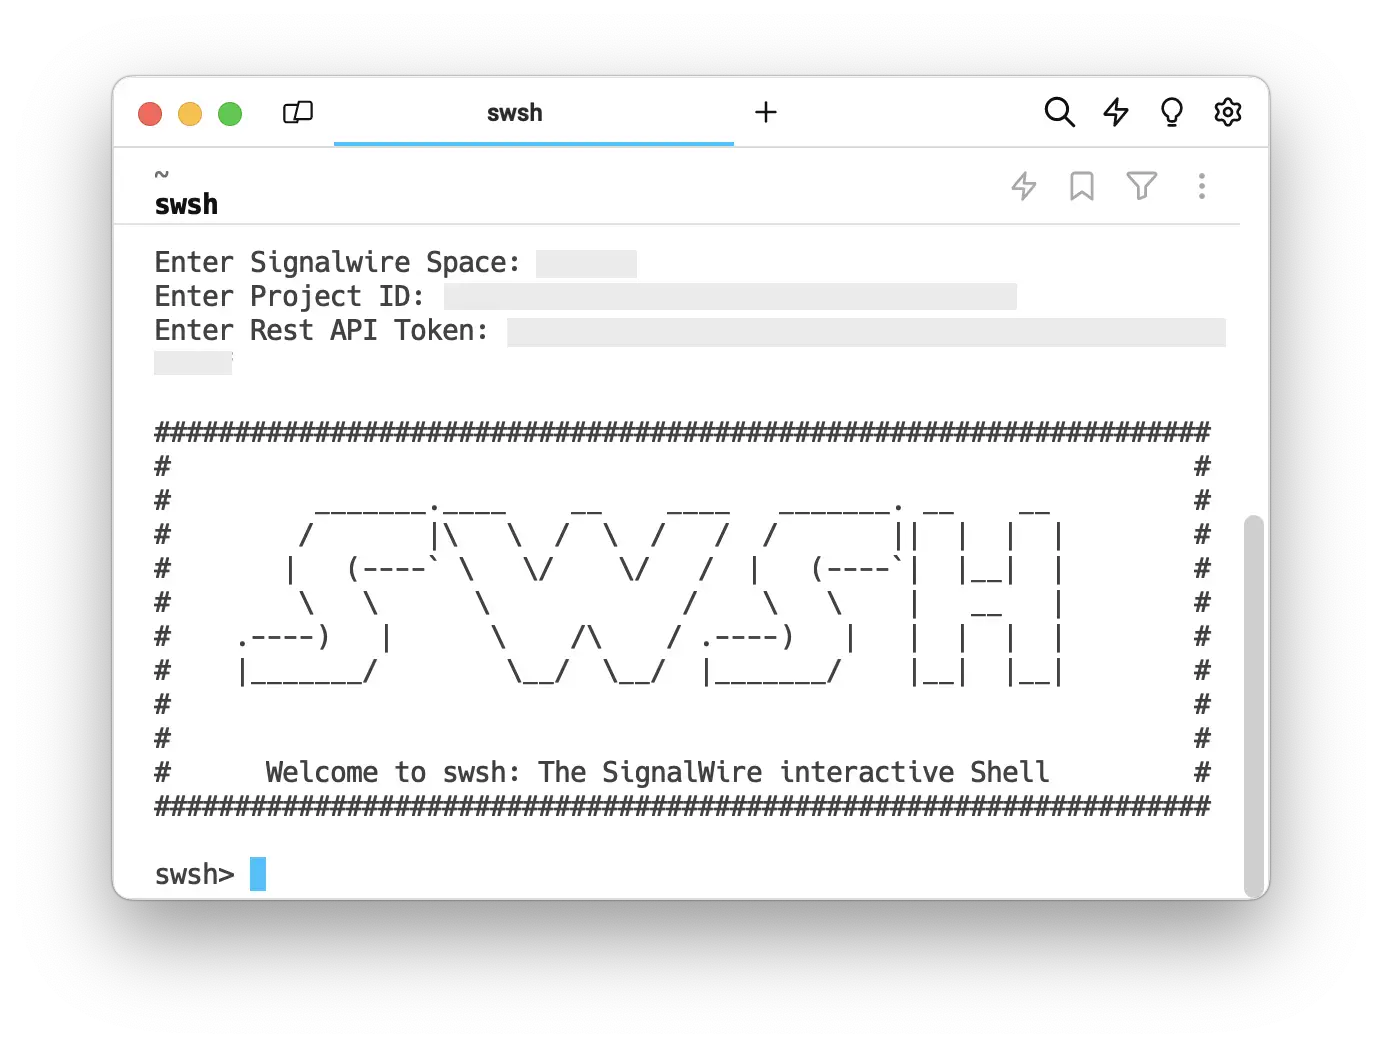
Follow the prompts on screen to enter your SignalWire Space, Project ID, and API token.
Your SignalWire Space is the subdomain that prefixes `signalwire.com`.
If your Dashboard is accessed at `https://spacename.signalwire.com/dashboard`,
you should enter `spacename` when prompted for your Space.
***
### WireStarter (Docker Image) Installation \[#wirestarter]
WireStarter is a Docker container which sets up the SignalWire SDKs and builds a development and testing environment for new developers.
Install SWSH with WireStarter if you want to take advantage of WireStarter's features.
The instructions for installing WireStarter using Docker are universal and will work on MacOS, Linux, and Windows.
1. **Start Docker Desktop**
Docker must be running at the start of the process.
2. **Download and install WireStarter**
WireStarter has been updated recently.
If you've used WireStarter before, be sure to delete the previous version and reinstall the latest version of the container.
```shell
docker run --name wirestarter briankwest/wirestarter:latest
```
3. **Start SWSH**
This command starts a terminal UI which will prompt you for relevant IDs and tokens.
It will walk you through configuring the development and testing environment.
It then automatically enters SWSH.
Follow the prompts on screen to enter your SignalWire Space, Project ID, and API token.
Your SignalWire Space is the subdomain that prefixes `signalwire.com`.
If your Dashboard is accessed at `https://spacename.signalwire.com/dashboard`,
you should enter `spacename` when prompted for your Space.
Copy the Project ID and REST API token from the
[API pane](https://my.signalwire.com?page=credentials) of your SignalWire Dashboard.
If you don't plan to set up a WireStarter example application, you can safely ignore both ngrok prompts by leaving them blank and hitting **Enter** or **Return**.
```shell
docker exec -ti wirestarter bash
```
Learn more about WireStarter by visiting its [repository on GitHub](https://github.com/signalwire/WireStarter).
***
## **Running SWSH**
Now that SWSH is installed, you can run it at any time by entering this command:
```bash
swsh
```
The Project ID, API Token, and API Key must be correctly configured in order to use SWSH commands.
### Startup Variables
The following variables can be set to streamline startup.\
They are also required for running in Non-Interactive mode.
If they are not set, SWSH will ask for them at startup.
**Linux / MacOS:**
```bash
export PROJECT_ID=
export SIGNALWIRE_SPACE=
export REST_API_TOKEN=
```
**Windows:**
```bash
setx PROJECT_ID=
setx SIGNALWIRE_SPACE=
setx REST_API_TOKEN=
```
***
## **Commands**
This section defines all SWSH commands. Commands can be run interactively or non-interactively.
#### Interactive Commands
Interactive commands are done within the SWSH shell itself.
For example:
1. Type `swsh` to enter the shell
2. Enter the following command: `phone_number list`
#### Scriptable (Non-Interactive) Commands
This type of command can be passed into SWSH, allowing for the output from SWSH to be passed back to the main shell.
This type of SWSH command is ideal for scripting.
[Startup variables](#startup-variables) must be set in order to enable scriptable commands.
Scriptable commands use the same syntax as Interactive commands, but condensed into a single line.
For example:
```bash
swsh phone_number list
```
***
### Space
Manage your SignalWire Space using the following SWSH commands:
| Command | Description |
| :----------- | :----------------------------------- |
| `space cd` | Change to the specified Space |
| `space show` | Show details about the current Space |
### Project
Manage the Project (and any subprojects)
within a SignalWire Space using the following SWSH commands:
| Command | Description |
| :--------------- | :---------------------------------------------------- |
| `project list` | Show a list of all projects in your SignalWire Space. |
| `project create` | Create a new Project. |
| `project update` | Update the Project details. |
| `project delete` | Delete a Project. |
### Domain Application
[Domain Applications](/docs/apis/relay-rest/domain-applications/create-domain-application)
allow you to send SIP traffic to a custom domain and run specified logic.
Manage Domain Applications within a SignalWire Project using the following commands:
| Command | Description |
| :-------------------------- | :------------------------------- |
| `domain_application list` | List domain applications. |
| `domain_application create` | Create a new domain application. |
| `domain application update` | Update a domain application. |
| `domain application delete` | Delete a domain application. |
### Number Group
[Number Groups](/docs/apis/relay-rest/number-groups/create-number-group)
are useful for configuring a set (or "group") of numbers as a single entity.
Manage Number Groups within a SignalWire Project using the following commands:
| Command | Description |
| :-------------------- | :----------------------------------------- |
| `number_group list` | List existing Number Groups in your Space. |
| `number_group create` | Create a new Number Group. |
| `number_group update` | Update an existing Number Group. |
| `number_group delete` | Delete a Number Group. |
### cXML Application
Manage [cXML Applications](/docs/compatibility-api/rest/applications/create-application)
within a SignalWire Project with these commands:
{/* Shane will change to cxml_* soon */}
| Command | Description |
| :---------------- | :--------------------------- |
| `laml_bin list` | List existing LaML bins. |
| `laml_bin create` | Create a new LaML bin. |
| `laml_bin update` | Update an existing LaML bin. |
| `laml_bin delete` | Delete a LaML bin. |
### Phone Number
Manage the SignalWire [Phone Numbers](/docs/apis/relay-rest/phone-numbers/purchase-phone-number)
within a SignalWire Project with these commands:
| Command | Description |
| :-------------------- | :--------------------------------------------------- |
| `phone_number list` | List the phone numbers associated with your Project. |
| `phone_number buy` | Buy a new phone number. |
| `phone_number update` | Update an existing phone number. |
| `phone_number delete` | Delete one of our phone numbers. |
| `phone_number lookup` | Look up and filter phone numbers. |
### SIP Endpoint
Manage [SIP Endpoints](/docs/apis/relay-rest/sip-endpoints/list-sip-endpoints)
within a SignalWire Project with these commands:
| Command | Description |
| :-------------------- | :------------------------------- |
| `sip_endpoint list` | List existing SIP Endpoints. |
| `sip_endpoint create` | Create a new SIP Endpoint. |
| `sip_endpoint update` | Update a SIP Endpoint. |
| `sip_endpoint delete` | Delete an existing SIP Endpoint. |
### SIP Profile
Manage SIP Profiles within a SignalWire Project with these commands:
| Command | Description |
| :------------------- | :------------------- |
| `sip_profile list` | List SIP Profiles. |
| `sip_profile update` | Update SIP Profiles. |
### Make a Call
Initiate a phone call between two parties using a SignalWire Project.
The Sending Phone Number must belong to the project.
```bash
send_call --from-num --to-num --url
```
### Request Call Records
Retrive Call Records on a SignalWire Project
| Command | Description |
| :---------------------------- | :------------------------------------------------------------------------------------------------------------------------------------------- |
| `get_call` | Retrieves a detailed list of recent calls. |
| `get_call --id ` | Retrieves call information.
Replace `` with the [SID (SignalWire ID)](/docs/platform/what-is-a-sid) of the desired call. |
| `get_call --all-active` | Retrieves call information for all active calls. |
### Send a Text
Transmit a text message to a destination using a SignalWire Project.
The Sending Phone Number must belong to the project.
```bash
send_text --from-num --to-num --text-body ""
```
### Clear
Clears the screen.
`clear`
### Exit
Exit the swsh subshell.
`exit`
***
### Have a question or bug to report?
Help us improve SWSH for your use case by
[reporting an Issue on the SWSH GitHub Repository](https://github.com/signalwire/swsh/issues).