***
id: efee60e7-7cec-4062-925c-a7b9d46d286d
title: FusionPBX
slug: /fusionpbx
x-custom:
ported\_from\_readme: true
hideInGuideShowcase: true
-------------------------
[FusionPBX](https://www.fusionpbx.com/) is a FreeSWITCH-based multi-tenant PBX that provides a robust set of features for business phone systems. Using SignalWire services with FusionPBX allows you to leverage our high call quality and low rates.
## Creating a SIP Endpoint
If you don't have a SIP endpoint set up already, the first step is to create a SIP Endpoint via the [SignalWire Dashboard](https://my.signalwire.com/dashboard) and connect it to a phone number.
## FusionPBX GUI Set Up
From your FusionPBX installation's web GUI go to **Accounts** > **Gateways**.
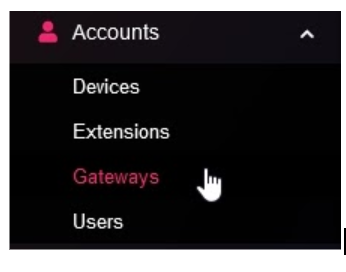
This is where you will use the credentials you created in the first step. Once you are in the **Gateways** section, click the **ADD** button in the top right corner.

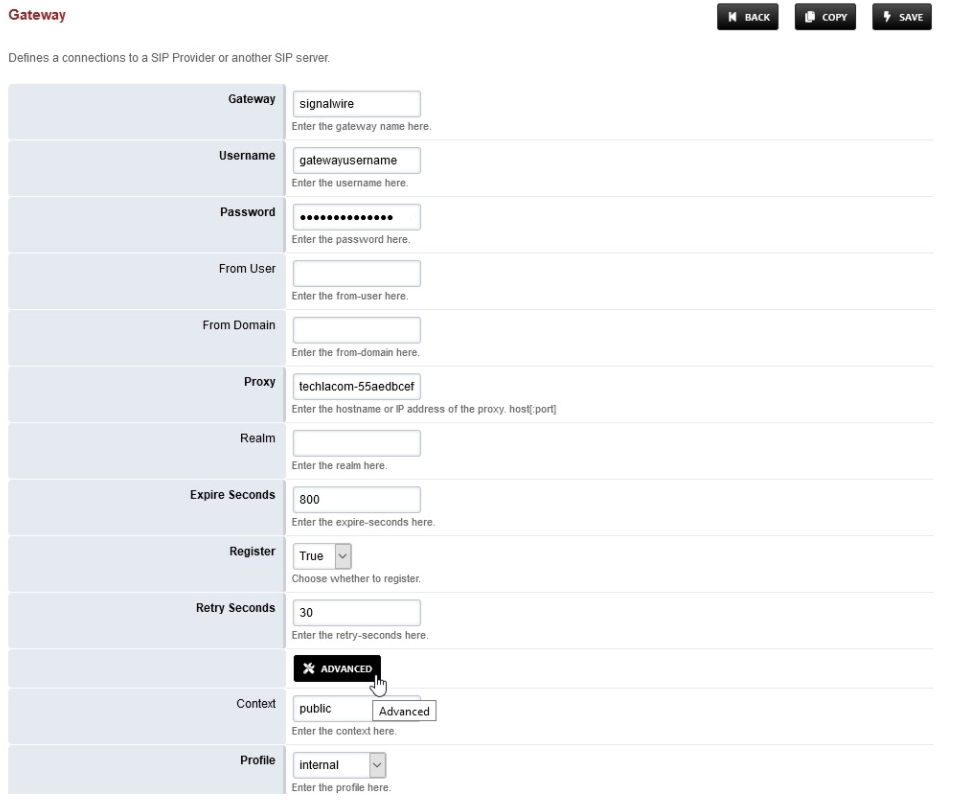
Enter the following information in the **Gateway** form:
Gateway: This is a label. In this example we will define this as signalwire\
Username: Your username as created in the SIP endpoint on SignalWire\
Password: The password you set above\
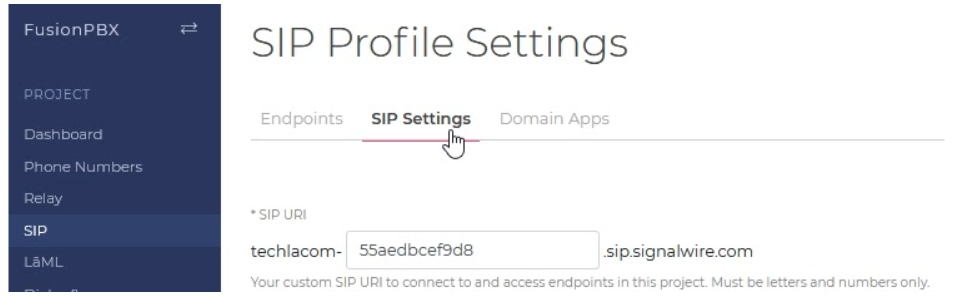
Proxy: YOURSPACE-SIPDOMAIN.sip.signalwire.com (Replace with your proxy address)\
Register: True
The Proxy address and other SIP credentials can be found in the SignalWire Dashboard by going to the **SIP** > **SIP Settings** tab as shown below.
Click the **Advanced** button to expand additional settings
-
Register Transport: TLS (This can also be TCP but is better to be secure with TLS)
-
Ping: 90
-
Profile: internal
-
Enabled: True Click save at the top right corner.
Your form should look similar to the following.
In order to use TLS on your FusionPBX installation, you **must** have SSL certificates like Let's Encrypt or others configured. You can find this detailed further in the FusionPBX member documentation.
You should now have a gateway registered(REGED) as shown in the image below! If you don't see it yet, try clicking **Start**.

## Making Outbound Calls over SignalWire
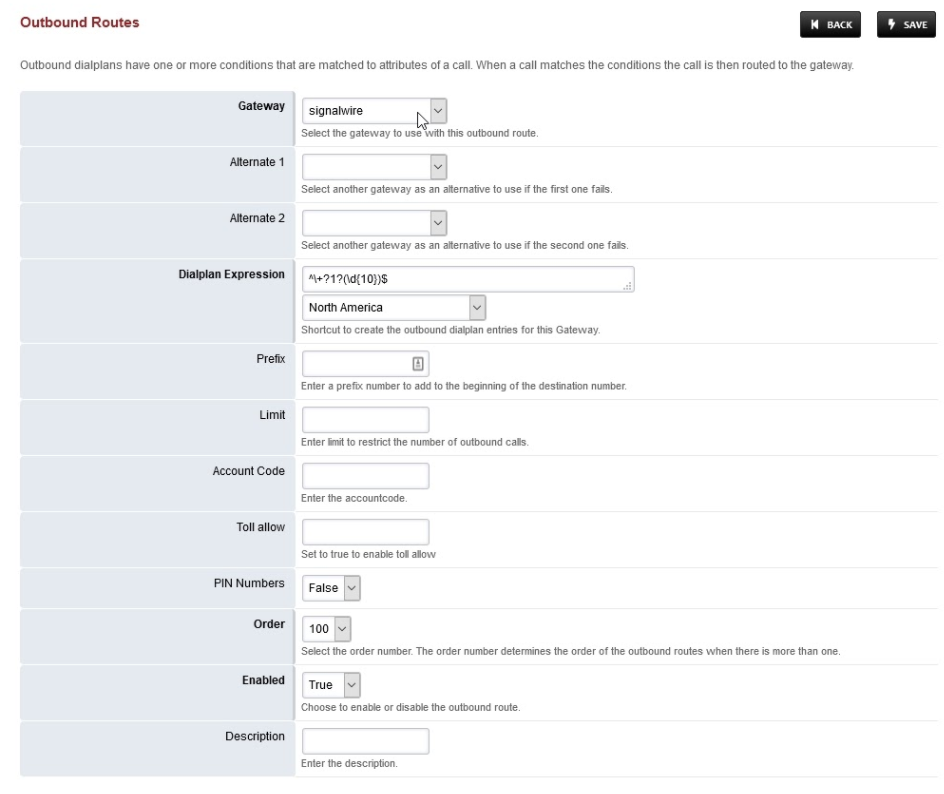
After the gateway is configured in your FusionPBX installation and registered, we can now configure an outbound route! Go to **Dialplan** > **Outbound Routes** and click the **ADD** button at the top right.


Fill in the form with a few simple settings:
-
Gateway: Select signalwire from the drop down list
-
Dialplan Expression: Choose North America (This can be typed in manually or you can pick other areas also)
Check your form is similar to the following, and click **Save**.
## Recieving Inbound Calls over SignalWire
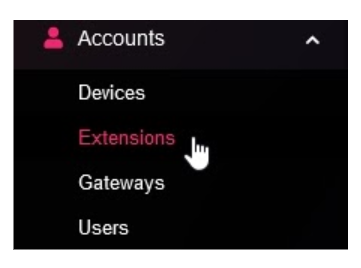
Go to **Accounts** > **Extensions**. Here you can create an extension. This is needed to point your registered peer to so you can receive calls.
Create an extension by clicking the **Add** button at the top right. In this example, we will create extension **900** and click **Save** at the top right.
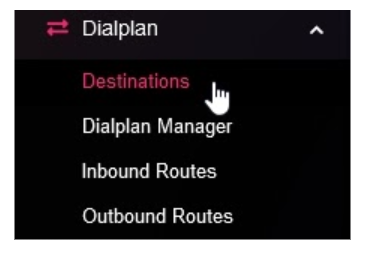
Go to **Dialplan** > **Destinations** from your FusionPBX installation. We will now create an inbound route to connect the SignalWire peer and the extension you just created.
Create a destination by clicking the **+ADD** button at the top right.

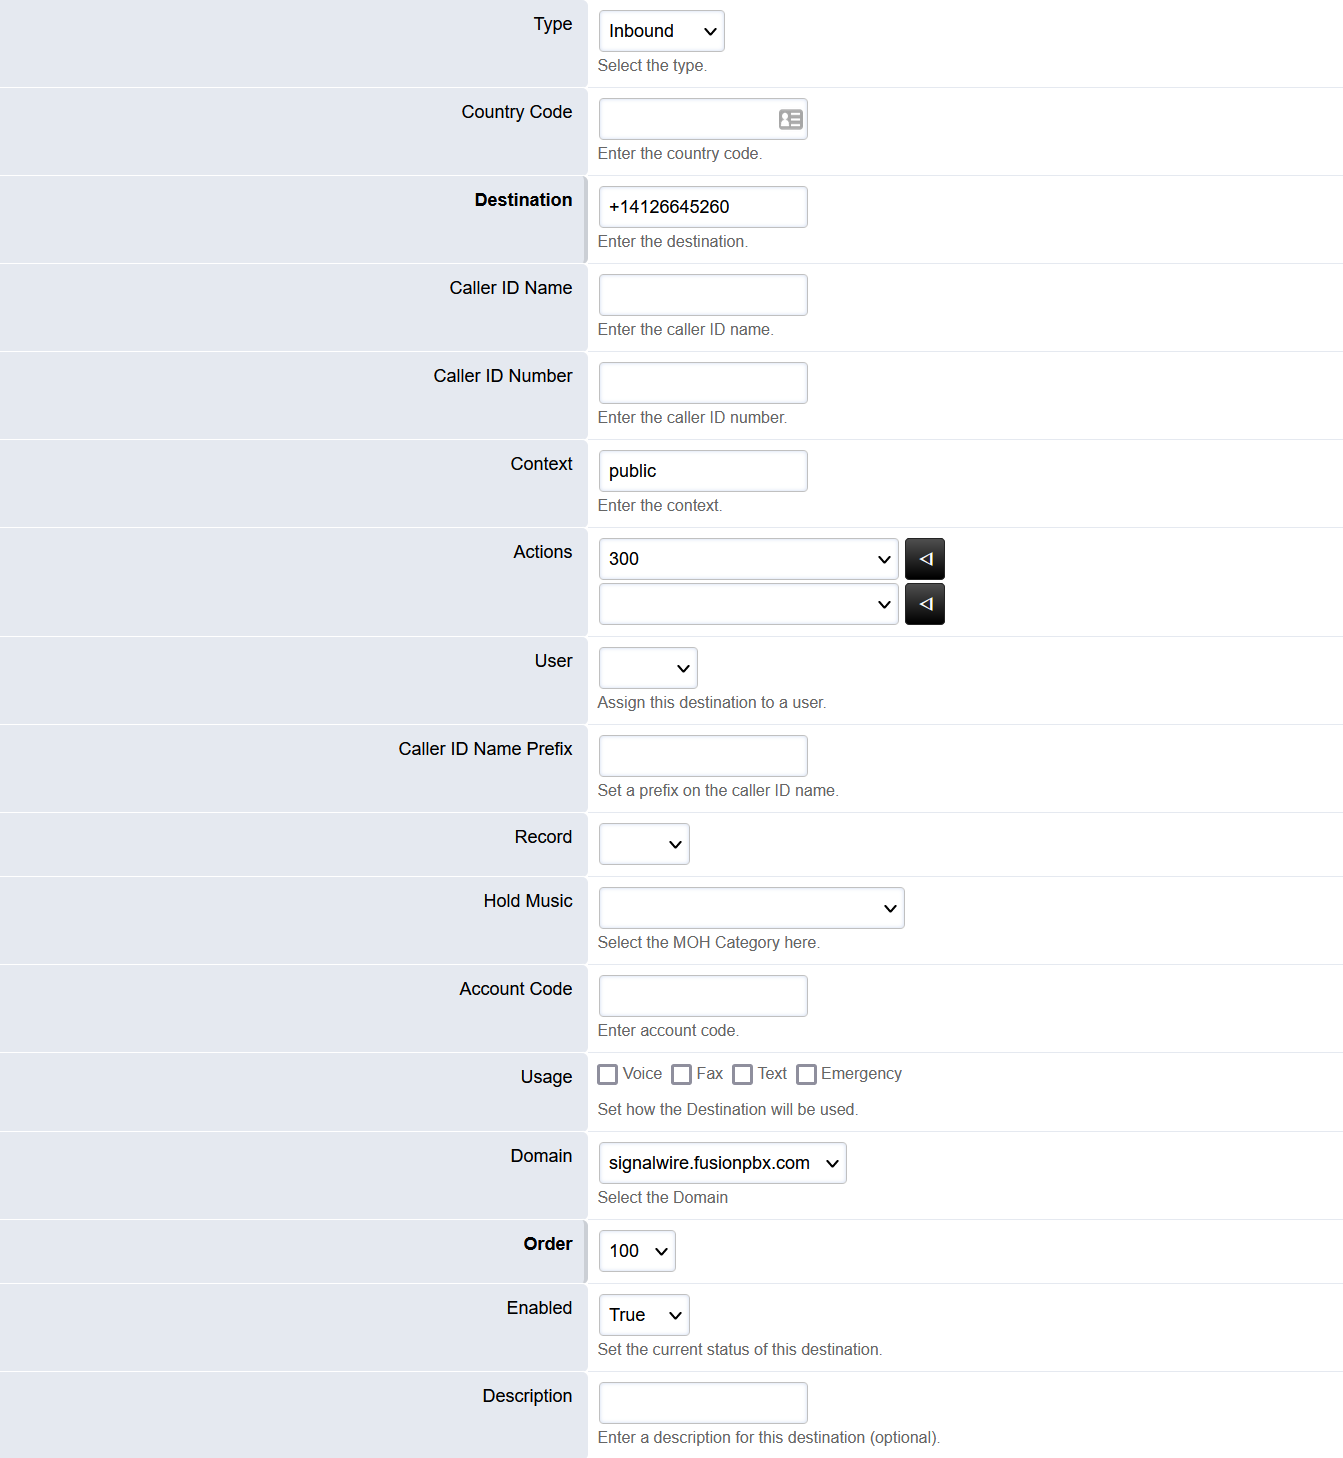
Fill in the form with the necessary information
-
Destination: Your SignalWire phone number, with the +1 (eg. +15556677888)
-
Caller ID Name: This is optional (also see the documentation for Caller ID settings on SignalWire)
-
Caller ID Number: This is optional
-
Actions: 900 (This is where the call will go to). The actions can be an extension, IVR, Time condition, etc.
Click the **Save** button at the top right, after checking your form looks similar to the following.
This next step is **VERY** important. This must be set in order to receive calls to your FusionPBX installation. In the menu, look for **Advanced** > **Default Settings** and click the **Add** button on the top right.

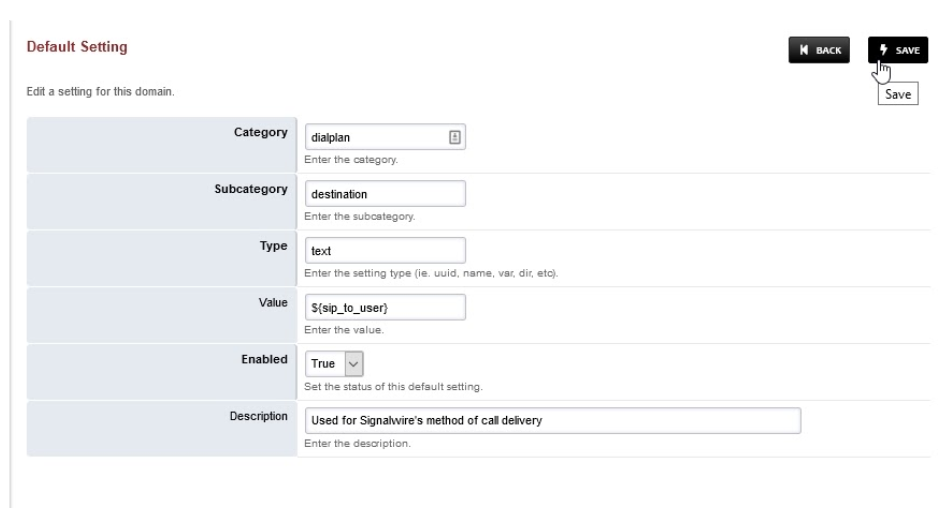
In the form, enter the following information:
1. Category: dialplan
2. Subcategory: destination
3. Type: text
4. Value: `${sip_to_user}`
5. Enabled: True
6. Description: optional
Check the form looks similar to the following, then click **Save**. After saving, click the top right **Reload** button.
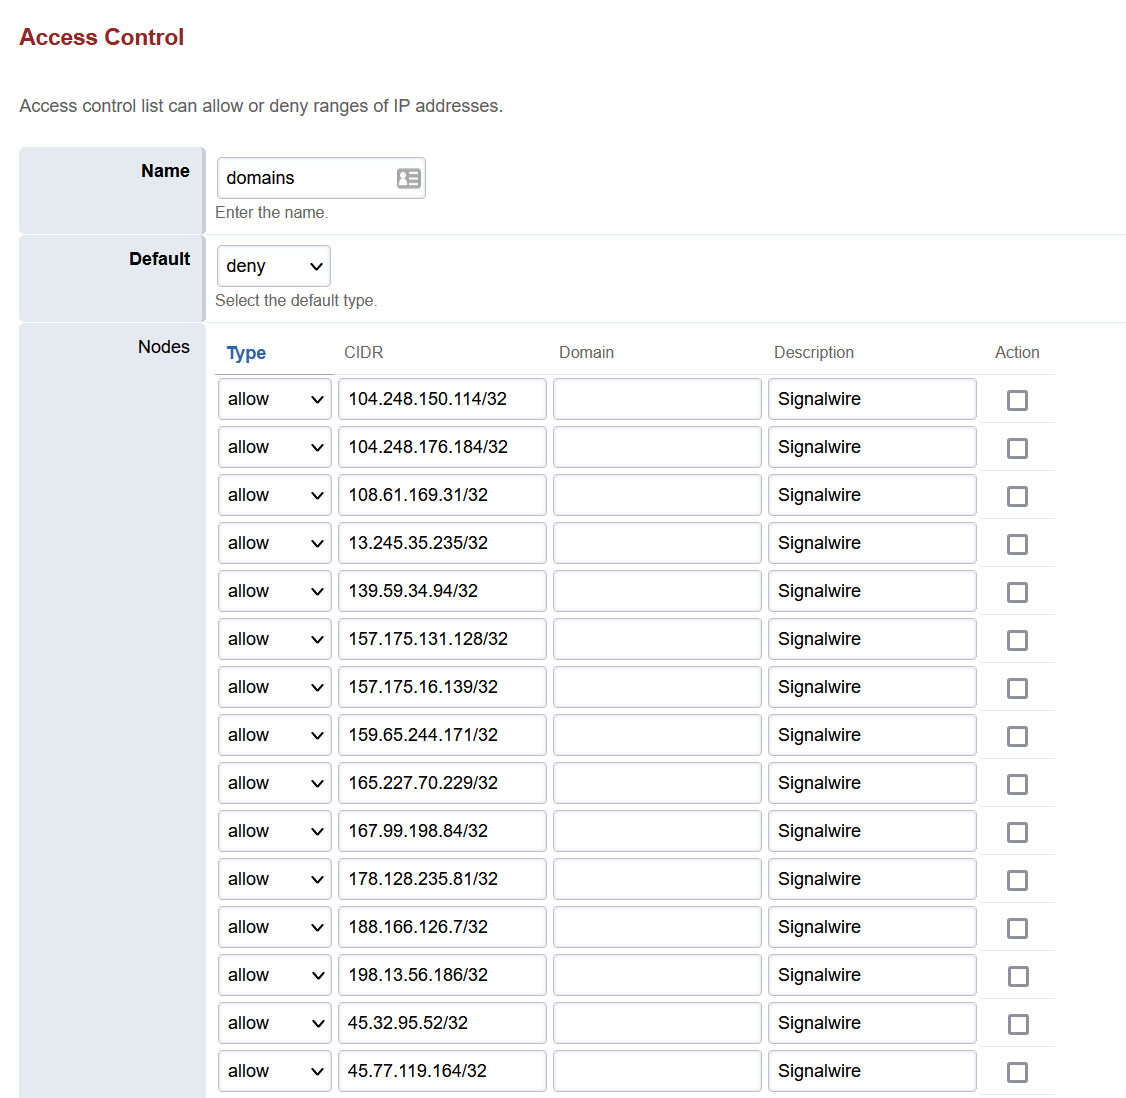
## Access Control
The IPs are needed to make/receive calls, but they can change frequently. You can find the IPs by querying sip.signalwire.com. CIDR is used so IPs must be added with a x.x.x.x/32.
**Windows**\
`nslookup sip.signalwire.com`
**Mac/linux**\
`dig sip.signalwire.com`
You can add these in **Advanced** --> **Access Controls** --> **Domains**.
## fail2ban
If you are using [fail2ban](https://docs.fusionpbx.com/en/latest/firewall/fail2ban.html) to protect FreeSWITCH, you can add SignalWire IPs directly to iptables via the linux command line!
Check out our article on [how to allow SignalWire IPs through your firewall](/docs/platform/allow-signalwire-ips-through-your-firewall) to learn more.